


How to Charge a Motorcycle Battery: A Step-by-Step Guide
A well-maintained motorcycle battery is crucial to the overall performance and longevity of your motorcycle. Ensuring that your battery is properly charged can help prevent unexpected breakdowns, extend its life, and keep your bike running smoothly. In this guide, we will walk you through the process of charging a motorcycle battery, providing you with the knowledge and confidence to keep your battery in optimal condition.
Motorcycle batteries, like any other battery, lose their charge over time or due to prolonged inactivity. Additionally, factors such as poor maintenance or extreme weather conditions can also impact their lifespan. It is essential to understand the proper procedures and tools required to safely and efficiently charge your motorcycle battery. By following these step-by-step instructions, you can save time and money and ensure that your bike remains road-ready at all times.
Understanding Motorcycle Batteries
Before diving into charging your motorcycle battery, it is essential to understand the different types of motorcycle batteries available in the market and their unique qualities. There are four primary types of batteries used in motorcycles: lead acid, absorbed glass mat (AGM), gel, and lithium-based batteries. Each type has its own features and specifications that you need to take into account when charging.
Lead Acid Batteries have been around for quite a long time and are relatively affordable. These batteries require maintenance, such as the occasional addition of distilled water to prevent drying out. Make sure to check electrolyte levels regularly.
Absorbed Glass Mat (AGM) Batteries are an improvement over lead acid batteries, offering a maintenance-free design and the ability to handle high current discharges. They are sealed and can be installed in any orientation, making them a popular choice for many motorcycle owners.
Gel Batteries are similar to AGM batteries in that they are maintenance-free and sealed, but the electrolyte is in a gel form instead of absorbed in a glass mat. They are less affected by temperature extremes and have a relatively low self-discharge rate, making them suitable for motorcycles that see irregular use.
Lithium-based Batteries are lightweight and compact, with excellent cold-starting performance and a long lifespan. However, these batteries require special chargers and care when charging to prevent damage. Always refer to the manufacturer's recommendations for specific charging instructions.
Apart from understanding the different types of batteries, it's crucial to be aware of common battery problems. Some issues include sulfation, loose connections, faulty charging system, and over-discharging. Regularly inspect your battery for signs of wear or damage to ensure a long, trouble-free life.
Lastly, several factors influence battery health and lifespan, such as proper charging, temperature, storage conditions, and riding frequency. By understanding these factors, you can take necessary steps to maximize the longevity and reliability of your motorcycle battery. For example, storing your motorcycle in a cool and dry place during periods of inactivity can help extend the battery's life.
In summary, being familiar with the different types of motorcycle batteries, common problems, and factors influencing battery health will help you better understand your motorcycle's power source and ensure its reliability on the road.
Preparing for Charging
Before starting the process of charging your motorcycle battery, it's crucial to take some safety precautions and gather the necessary tools and equipment. First, ensure your motorcycle is parked in a well-ventilated area as it prevents the build-up of harmful gases that may be emitted during the charging process.
Safety Precautions:
- Wear heavy-duty gloves and eye protection.
- Avoid smoking or use of open flames near the battery.
- Keep children and pets away from the motorcycle during charging.
Necessary Tools and Equipment:
- A suitable battery charger for your motorcycle battery type.
- A clean cloth to wipe any dirt or debris.
- A voltmeter to check battery voltage (optional).
Before connecting the motorcycle battery to the charger, it's essential to identify your battery type as well as its specifications. The most common types of motorcycle batteries are:
- Lead Acid (also known as Flooded or Wet Cell)
- Absorbed Glass Mat (AGM)
- Gel
- Lithium-based (Lithium-ion, Lithium Iron, Lithium Phosphate)
You can find this information in your motorcycle owner's manual or on the battery itself. Take note of the charging voltage and current recommended by the battery manufacturer, as using the incorrect charger or settings can damage your battery.
After gathering all the necessary tools and equipment, and identifying your battery type, you're now ready to charge your motorcycle battery safely and efficiently.
Selecting the Right Charger
Before charging your motorcycle battery, it's crucial to select a compatible charger. There are several factors to consider when choosing a charger, including battery type, voltage, and charging method. This section will briefly guide you through selecting the right charger.
Battery Type: There are three main types of motorcycle batteries – AGM (Absorbent Glass Mat), conventional lead-acid, and lithium-ion. Each type requires a specific kind of charger. When selecting a charger, consult your battery's manual or look for information on the battery itself to ensure compatibility.
Charger Voltage and Capacity: Choose a charger with a voltage output that matches your battery. Most motorcycle batteries require a 12V charger, although some may need a 6V charger. Additionally, consider the charger's capacity or charging rate (measured in amperes). Higher amps will charge your battery faster, but it's essential to use a charger with a capacity compatible with your battery to prevent potential damage.
Charging Method: There are two main charging methods - manual and automatic.
- Manual Chargers require monitoring while charging the battery, and you'll need to disconnect the charger once the battery is fully charged. This type of charger is cost-effective but runs the risk of overcharging if not carefully supervised.
- Automatic Chargers (also known as smart chargers or battery maintainers) automatically adjust the charging rate and switch to a maintenance mode once the battery is fully charged. These chargers are more convenient and safer, as they prevent overcharging.
To choose the appropriate charging method, consider factors such as convenience, risk of overcharging, and your ability to monitor the charging process.
In conclusion, selecting the right charger for your motorcycle battery involves understanding your battery type, choosing a compatible voltage and capacity, and determining the most suitable charging method. By considering these factors and following the steps outlined in this guide, you can confidently charge your battery and ensure its longevity.
Step-by-Step Charging Process
Before you begin, gather the necessary tools and materials: a motorcycle battery charger, your motorcycle's owner's manual, and safety gear like gloves and goggles. Make sure to work in a well-ventilated area to avoid hazardous fumes.
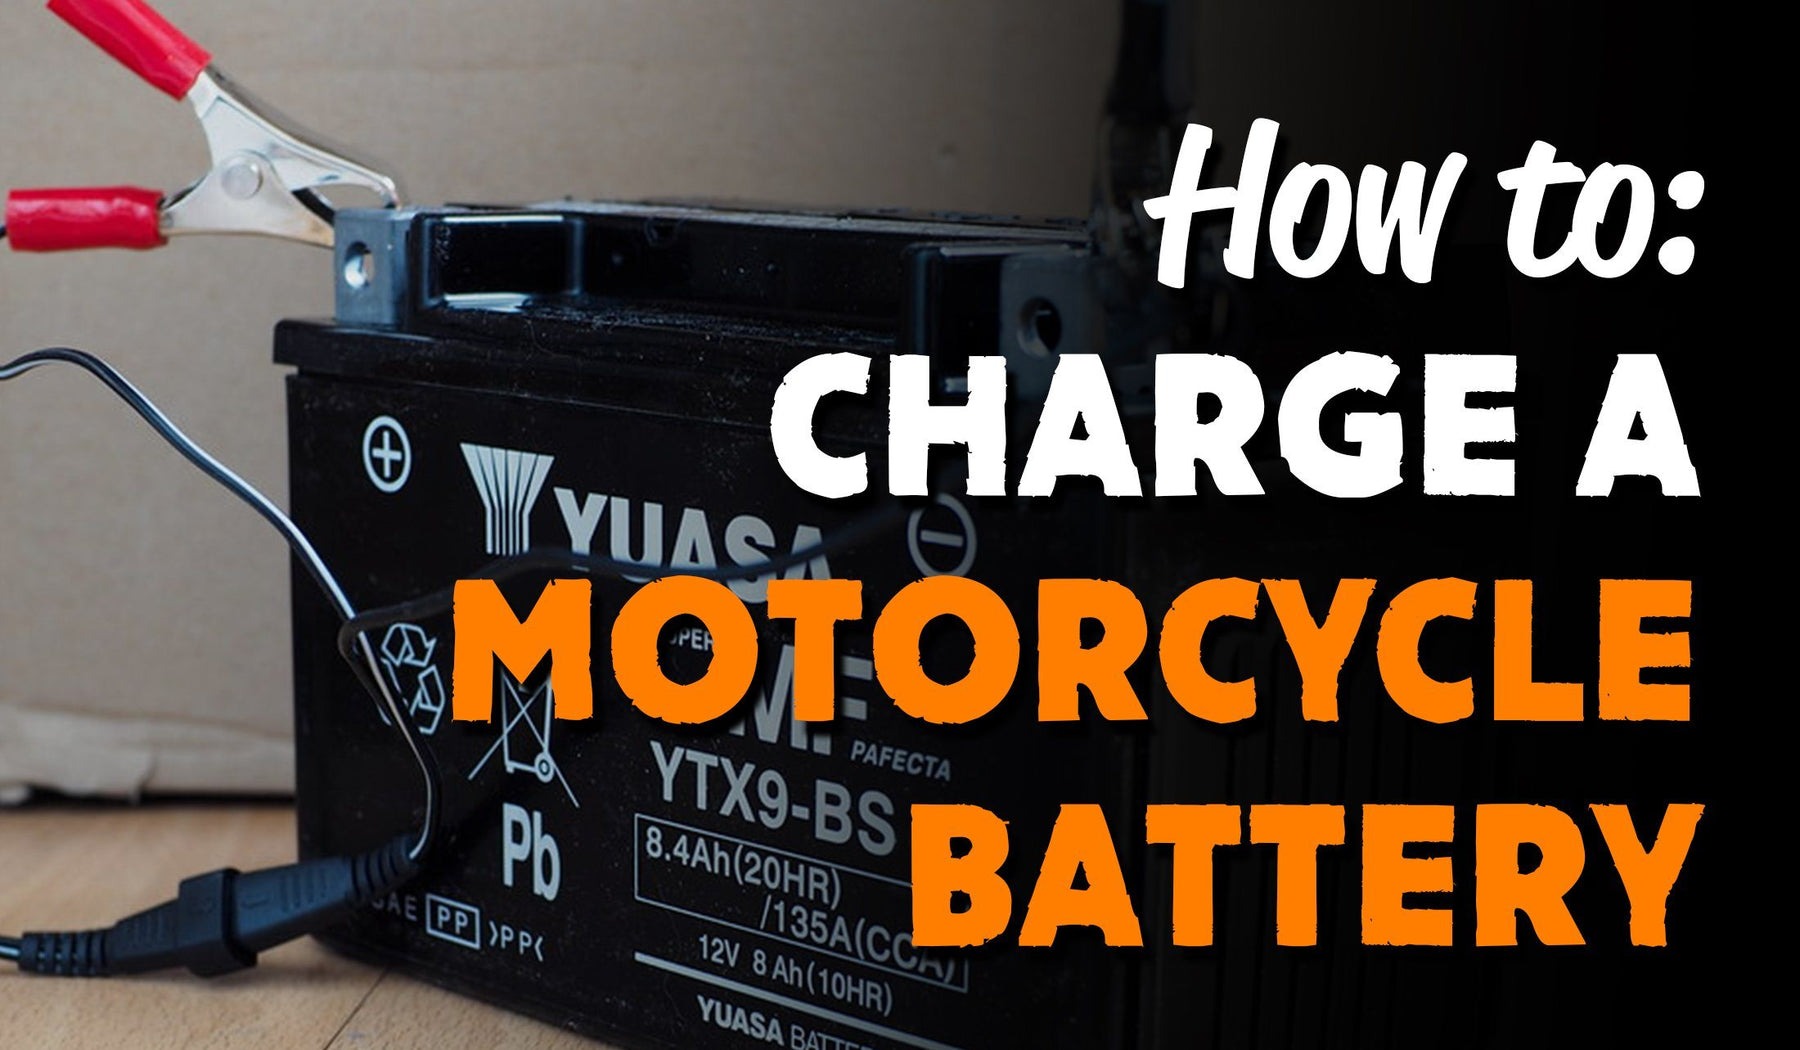
1. Disconnect the battery. First, locate the battery on your motorcycle. It might be under the seat, behind side panels, or in another easily accessible location. Consult your owner's manual if you're unsure. With the motorcycle turned off, disconnect the battery by removing the negative cable (usually black) first, followed by the positive cable (usually red).
2. Check the battery terminal connections. Inspect the terminals for any corrosion, damage, or loose connections. Clean them if necessary to ensure a proper connection with the charger.
3. Connect the battery charger. Follow the battery charger instructions to connect it to the battery. With the charger unplugged, attach the red charger clip to the positive battery terminal and the black charger clip to the negative terminal.
4. Set up the charger. Choose the correct charging mode (if available) based on your battery type and capacity. Some chargers have an automatic mode, while others might require you to select the appropriate voltage and amperage manually. Refer to your charger's instructions and your battery's specifications for proper setup.
5. Monitor the charging process. Plug in the charger and allow it to charge the battery. Keep a close watch on the progress, ensuring the charger doesn't overheat or show any signs of malfunction. If you notice anything unusual, unplug the charger and check the connections or consult the user manual for troubleshooting.
6. Complete the charge. When the charger indicates that the battery is fully charged, unplug it and disconnect the charger clips from the battery terminals. Reconnect your motorcycle's battery cables, starting with the positive cable and then the negative cable.
By following these steps, you can confidently charge your motorcycle battery and maintain its performance and lifespan. Remember to always prioritize safety and consult your owner's manual and charger instructions for model-specific instructions and guidelines.
Troubleshooting and Maintenance
Common Charging Issues: Sometimes you might face issues while charging your motorcycle battery. Here are a few common problems and solutions:
- Battery not holding charge: This could be due to a damaged or old battery. Consider replacing it with a new one.
- Charger not working: Ensure that your charger is in good condition and compatible with your battery type. If needed, invest in a new charger.
- Problems with electrical connections: Check your battery terminals and charging cables for any corrosion or damage. Clean and tighten the connections as needed.
Preventive Maintenance Practices: Adopting preventive measures will prolong the life of your motorcycle battery and charger:
- Regularly check battery voltage: Monitor your battery's voltage at least once a month to ensure it is within the recommended range.
- Clean battery terminals: Keep your battery terminals free of corrosion and dirt to maintain proper electrical connections.
- Inspect charging cables: Examine your charging cables for any signs of wear, damage, or fraying. Replace them if necessary.
Proper Storage and Maintenance During Inactivity: If you do not plan to use your motorcycle for an extended period, follow these guidelines to ensure your battery remains in good condition:
- Charge the battery fully: Before storing your motorcycle, ensure the battery is fully charged to prevent it from losing charge over time.
- Disconnect the battery: Remove the battery from your motorcycle and disconnect it, reducing the risk of any power drains.
- Store in a cool, dry place: Keep your battery in a cool, dry location away from direct sunlight, heat sources, and moisture to prevent damage.
- Use a battery maintainer: Invest in a battery maintainer or float charger to maintain the charge during the storage period.
By following these troubleshooting, maintenance, and storage tips, you can ensure your motorcycle battery remains in excellent condition and lasts longer.
Conclusion
Charging your motorcycle battery correctly is essential for ensuring a healthy, long-lasting battery life. It helps prevent any unexpected breakdowns and ensures optimal performance of your motorcycle. Keep in mind the following final tips for enthusiasts:
- Always determine the type of battery (lead acid, absorbed glass mat (AGM), gel, lithium-based) before charging to use the appropriate charger.
- Regularly inspect your battery for any signs of corrosion, leaks, or physical damage.
- Disconnect the battery from the motorcycle before charging to avoid any accidental short circuits.
- Follow the manufacturer's instructions and recommended charging time.
Additionally, it's crucial to incorporate regular battery maintenance into your routine. This involves checking the battery terminals, fluid levels (for non-sealed batteries), and overall cleanliness. In the long run, this can help extend your motorcycle battery's lifespan and improve its performance.
By following these guidelines and ensuring proper care and charging practices, you can enjoy a smoother riding experience without any interruptions due to battery issues. So, take the time to look after your motorcycle battery, and it will reward you with reliable service on the road.
- Choosing a selection results in a full page refresh.