


How to Secure Tarp to Roof Without Nails
|
|
Time to read 6 min
|
|
Time to read 6 min
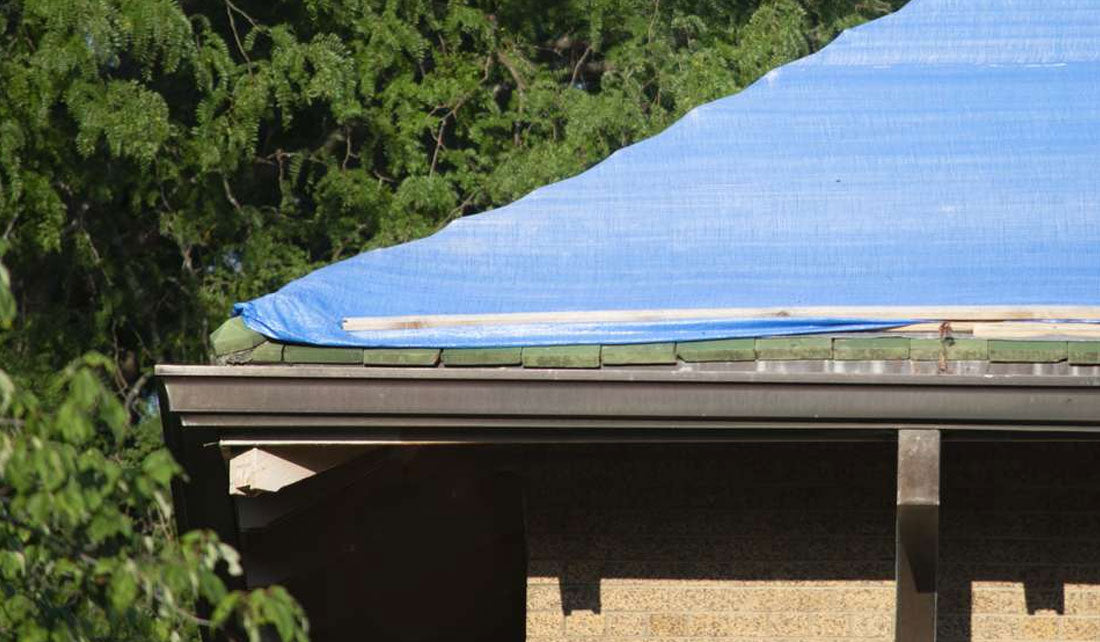
A leaking or damaged roof is a common issue faced by many homeowners, and finding a quick, effective solution to protect your home from water damage is crucial. Securing a tarp to your roof can be an ideal temporary fix while you wait for professional repairs. However, using nails to fasten the tarp can cause further damage to your already compromised roof, leaving you searching for alternative methods to keep the tarp in place.
The importance of securely fastening a tarp to your roof cannot be overstated, as wind and rain can easily dislodge an improperly placed tarp, rendering it useless and potentially causing additional damage. Nails, while strong, can create new holes in your roof and compromise the integrity of your shingles. Fortunately, there are alternative methods available for securing a tarp to your roof without causing harm.
In this guide, you will learn about various ways to attach a tarp to your roof without nails, such as using tarp straps, self-adhesive tarps, anchor boards, bungee cords, ropes, or ratchet tie-down straps. These solutions will help you protect your home while ensuring your roof remains in the best possible condition for future repairs.

When securing a tarp to your roof, you might be tempted to use nails for a quick and easy solution. However, there are good reasons to avoid using nails. For one, nails can cause damage to your roof, leading to leaks and long-term structural issues. When you puncture the roofing material with nails, it compromises the integrity of the roof and can create entry points for water. Over time, this can cause costly damage to your home.
In addition to the potential for leaks, nails have some practical drawbacks. The process of removing them can be time-consuming and labor-intensive. Plus, nails have limited reusability, which means you may need to purchase new nails if you plan to reposition the tarp or use it for another project.
Instead of nails, consider alternative methods for securing a tarp on your roof, such as:
By avoiding nails, you can protect your roof from potential damage while still effectively securing a tarp during repairs or bad weather. Remember to always prioritize the health of your roof to ensure the longevity of your home's structure.

Tarp straps are a versatile and efficient solution for securing tarps to roofs without using nails. They consist of a stretchable material, usually rubber or synthetic elastic. The advantage of tarp straps over nails is their non-invasive nature, which prevents any further damage to the roof's surface. Additionally, they are easy to install, adjust, and remove when needed, making them a practical choice for both temporary and long-term repairs.
To effectively use tarp straps, follow these simple steps:
Measure the distance between the tarp edges and the anchor points on your roof. This measurement will help you determine the appropriate length of the tarp straps needed.
Purchase heavy-duty tarp straps of the necessary length, which should also include metal S-hooks on both ends. For added protection, consider choosing straps with UV resistance and weatherproof features to withstand harsh weather conditions.
Lay the tarp on the roof, covering the damaged area entirely, and ensure that it has a sufficient overhang on all sides.
Attach the S-hooks to the corresponding grommets on the tarp by pushing the hook through the hole.
Secure the other end of the tarp strap to a sturdy anchor point on your roof, such as a gutter or another immovable structure. Make sure that the strap is taut, but not overly stretched to maintain the integrity of the tarp. Ensure even tension, balancing the straps between different anchor points to prevent the tarp from sagging or slipping.
Inspect the tarp installation regularly to make sure the straps remain tight and the tarp remains in place, especially during severe weather.
By following these steps, you can effectively secure a tarp to your roof without causing any additional damage using nails. Heavy-duty tarp straps provide a reliable and reusable solution, catering to various roofing scenarios and weather conditions.

When faced with a more complex or challenging roofing situation, ratchet tie-down straps offer an alternative solution for securing a tarp without using nails. Ratchet tie-down straps provide greater tension, making it easier to achieve a snug and secure fit.
To use ratchet tie-down straps effectively:
Remember to consider important safety aspects while working on your roof:
By leveraging ratchet tie-down straps in complicated roofing scenarios, you can effectively secure a tarp without using nails, ensuring a safe and damage-free installation.

Before installing a tarp on your roof, inspect the roof and tarp for any damage or irregularities. Address any issues such as loose or missing shingles to ensure a secure installation. Selecting the right size and type of tarp is crucial. Measure the damaged area on your roof and choose a tarp that covers it completely, with a few extra feet for overlap.
When securing the tarp, consider using alternative methods to nails. For example:
Once you have installed the tarp, perform regular checks to make sure it remains securely attached, especially after harsh weather conditions. Tighten any loose straps, ropes, or anchor boards to maintain the effectiveness of the tarp.
For larger projects or if you are unsure of the correct installation method, consider professional assistance. A qualified roofing contractor will have the skills and tools necessary to safely and effectively secure a tarp to your roof without causing additional damage.
By following these tips and regularly monitoring the condition of your roof and tarp, you can ensure a secure and effective temporary solution for protecting your home from water damage.
Utilizing alternative tarp securing methods without nails has its benefits, making them a practical choice for safeguarding your roof from leaks while undergoing repairs. Key advantages of these methods include minimal damage to your roof, as they eliminate the need for puncturing shingles with nails or screws. Additionally, some of these alternatives make use of self-adhesive tarps, which provide a reliable and secure attachment to your roof, ensuring maximum protection from the elements.
To achieve the best results, it's essential to:
In summary, selecting the right tarp securing method without nails contributes to the longevity of your roof and tarp. By taking this approach, you can help preserve the existing roof structure while repairs are being made, and maintain a safer environment for both you and your property. Remember, your goal is to protect your home from leaks and potential damage; choosing secure and effective installation techniques is a crucial step in achieving that goal.


